Tayberry Jam
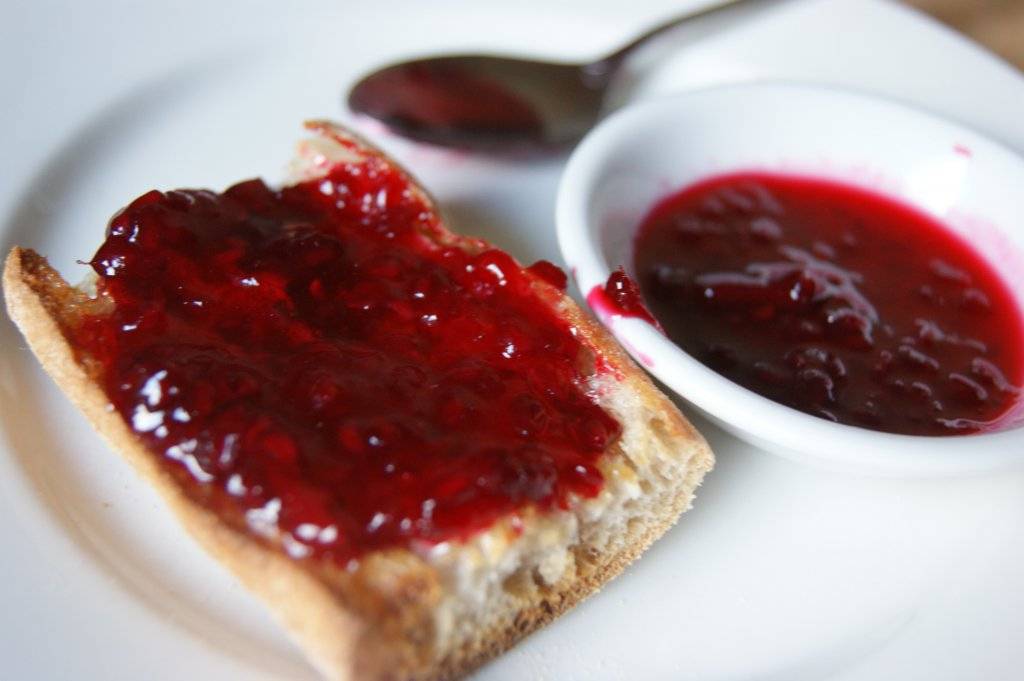
The lady who gave me my first tayberry (years ago) told me that tayberries were a heritage variety of bramble berry, known back in the old country for making excellent pies and jam. That sounded good to me. The berries certainly have an undefinable tart-floral flavour which shines more when cooked. I easily imagined the tayberry surviving into the 21st century by virtue of a few stubborn Scottish grandmothers keeping the breed alive.
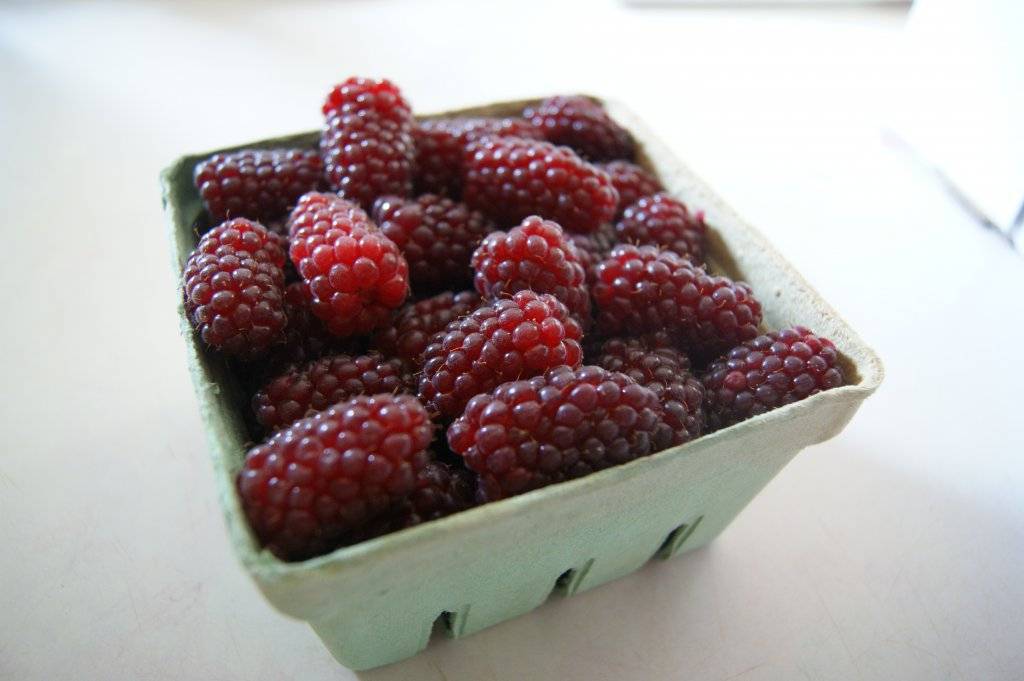
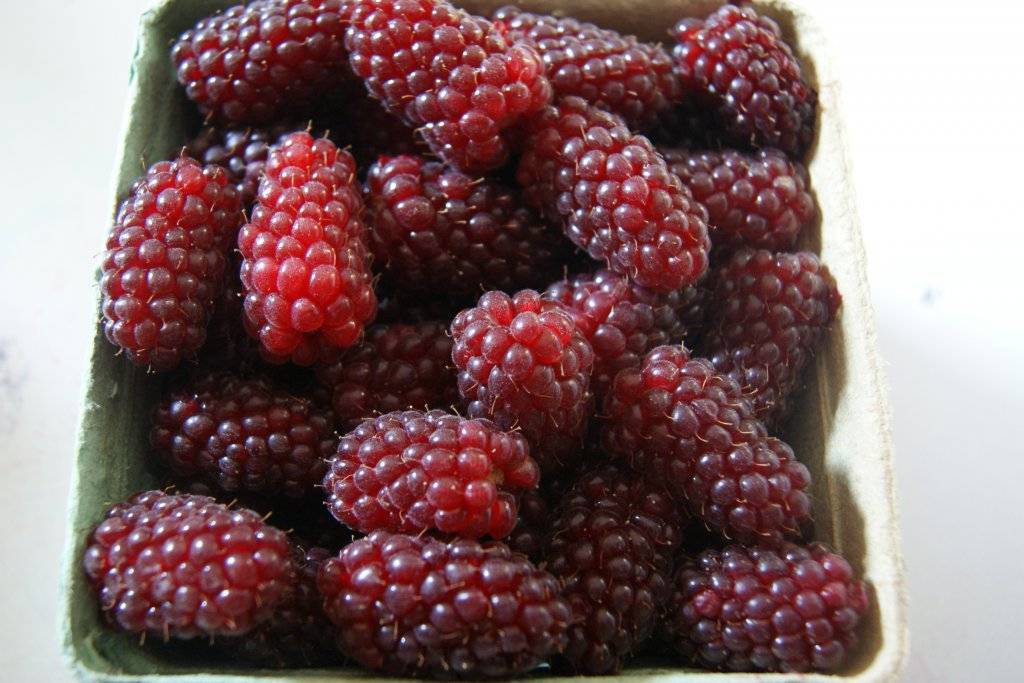
I’ve since learned that tayberries were first bred in the 60s, in a lab (!) I’ve had to re-imagine my whole tayberry fantasy. Now, instead of apple-cheeked grandmas in woolen sweaters, I see scientists in lab coats intently focused on breeding the world’s tastiest berry. And they definitely pulled off a good one. Tayberries are a cross between (depending on who you talk to) blackberries, loganberries, and raspberries. Mmmm!
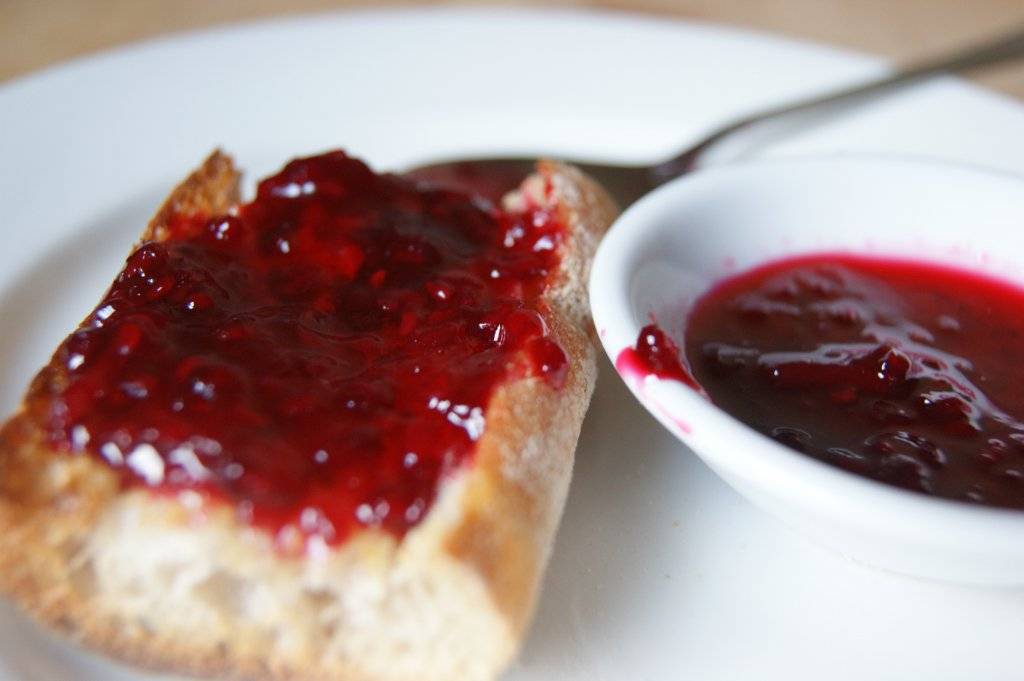
I actually don’t love them raw. I mean, I can polish off a pint of fresh tayberries, no problem, but they don’t call to me the way fresh blueberries or wild strawberries do. However, tayberries are absolutely dynamite in the kitchen: they come into their own once cooked, making the BEST jam, delicious pies, you name it. Oh my, I just ate some tayberry jam toast and felt the heavens open for a moment there.
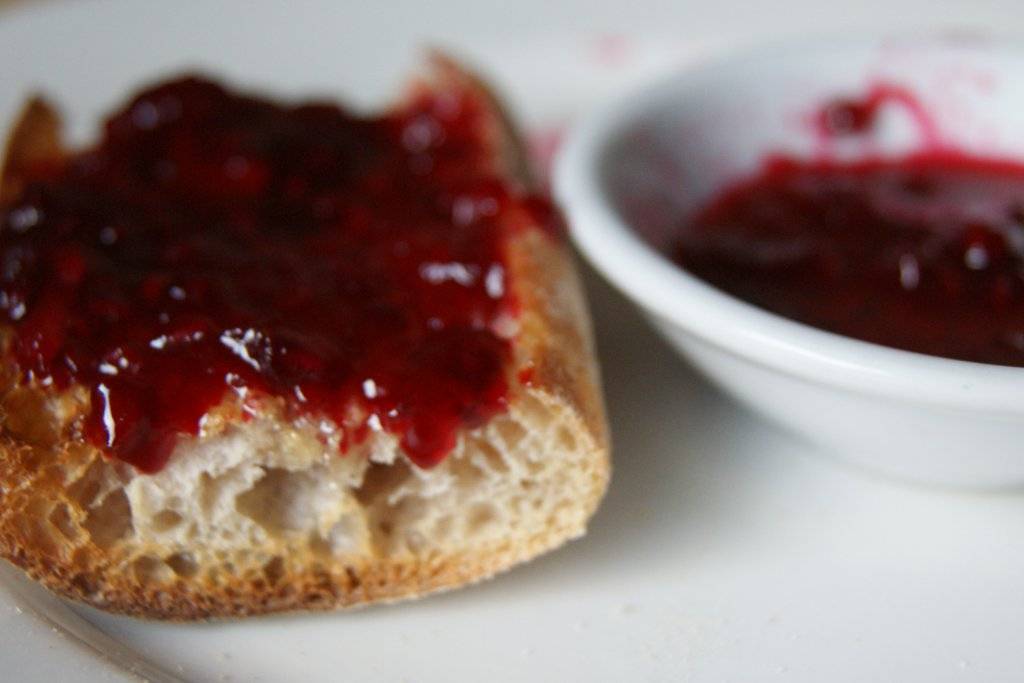
Tayberry jam does taste a bit like a rasberry-blackberry-loganberry jam mix, but with this very special aromatic berry-ish flavour all its own. Defintely floral, but not in a perfumey way. It’s almost as if someone has been throwing flower petals and shots of wine into the jam pot while your back was turned. Tayberries will magically produce that amazingly cool flavour when you make pie with them, or sorbet, or shortcake (so long as you cook them). But my favourite is the jam. Which is why I made 10 jars of tayberry jam last week – I want to make sure that we don’t run out this year.
Tayberries are in season right now and many farms on the Saanich peninsula are growing them. I’ve bought some at Oldfield Orchard, Dan’s Country Market, Michell Farms, and Gobind Farms. You should try tayberry jam at least once in your life (although I bet you won’t be able to stop at one taste).
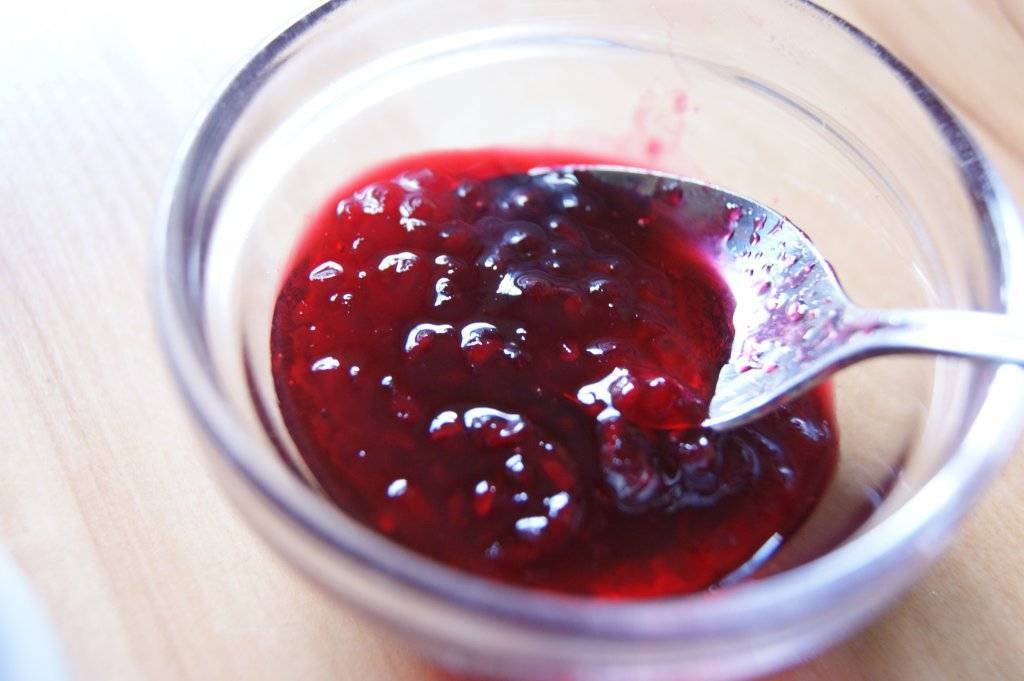
TAYBERRY JAM
Makes 4 250 ml jars
Very important note: jam does not have to a big production involving special tools and a canner. You can make a few jars of jam and just keep them in the fridge for 6 months, until you use it up. I have been known to make 1 cup of jam – and this only takes about 10 minutes. Please do not be intimidated by the equipment list below.
A note about pectin and cooking times: I do not use commercial pectin in my jam. Most fruits have enough naturally-occurring pectin to “jam” on their own. Commercial pectin requires extra sugar, and can kill the fruit taste. Jam is best made 4 cups at a time. If you want to make more jam than that, you can either have two batches going in two different pots, or make one batch after another. Doubling jam recipes into the same pot is usually not good idea – the boiling jam takes up a huge amount of room, and also won’t set up properly if made in large batches. Also, most jams will gel in 5 minutes or less. Keep a close eye on your jam and do not over-cook your jam.
ingredients
5 cups (1.25 L) perfect fresh or frozen tayberries
3½ to 4 cups (700 to 800 g) sugar
4 jam jars with new lids and screw bands (sterilized either in the top of the dishwasher, in boiling water for 10 mins, OR in a 250°F oven for one hour)
Canning funnel
Ladle
Canning Tongs
Boiling water bath canner
instructions
Rinse berries in cool water. The berries should be well-packed (but without crushing them) when they are being measured.
Prepare for jam-making. Make sure jars are sterilized and kept warm (I put the jars on a tray in a 200 degree oven). Lids and screw bands should be in a pot of very hot water. Tongs, ladle, cannel funnel should all be clean. Place a clean folded tea towel on the counter beside the pot you will use to make the jam. Place a small plate in the freezer (to test the jam for jelling).
Place berries in a large Dutch oven. Crush a few of the berries to help release their juice. Add the sugar. Stir to mix well. If you have time, leave the berries for about an hour so that their juices dissolve the sugar. Turn heat to low and cook, stirring, until sugar is dissolved and berries have given off some juice.
Dip a little spoon in to taste the jam. If your berries were tart, add more sugar.
Increase heat to high and bring to a full bubbling boil. Skim off any foam that comes to the surface (depending on the berries, you may have a tablespoon, or up to ½ cup of foam). Once the jam is a mass of foamy bubbles, turn the heat to medium and cook for about 2 to 5 minutes, stirring occasionally. At the 2 minute mark, drip some jam onto the cold plate. Let cool for a few seconds, then gently run your finger across the top of the jam blob. If the skin on the top wrinkles, the jam is ready, even if it otherwise looks too runny. If not, put the plate back in the freezer and cook jam for a minute or two more. Repeat test before processing the jam.
Remove jars from oven with canning tongs and place on folded tea towel. Use canning funnel to help ladle the jam into warm, sterilized jars to within 2 mm of the top. Screw on the lids. Using canning tongs, immediately place in prepared boiling water bath canner and cook for 10 minutes. Use the canning tongs to remove the jars from the canner and place on a folded towel on the counter. Let cool for 24 hours. Check seals before storing.
If you don’t want to process the jam in a canner, you can just ladle into the jars, screw on the lids, let cool for 24 hrs, and then store the jam in the fridge for several months (or at room temp for a few weeks)
What to do if your jam doesn’t “set up” (i.e. it’s too runny): use it anyway. It will still be totally delicious. Put it in yogurt, spoon in on pancakes or crepes, top your porridge with it, use it in smoothies, on biscuits and toast. Maybe just call it tayberry sauce to save your ego :)


The recipe sounds so delicious and the pictures make my mouth water. I must confess I never heard of tayberries. They look like red blackberries. We have quite a bit in common. I too am a professional chef. I owned and operated an upscale catering company for 17 years. Now I’m into blogging, food photography, cookbook writing and teaching cooking classes. I would love for you to check out my blog. I just signed up for yours by email so I don’t miss any of your wonderful recipes.
Thanks, Sandy! I’ll be sure to check out your blog. And yes, tayberries do look like red blackberries, which makes sense given their hybrid origins. But they have a taste all their own.
I made the tayberry jam after your local harvest class a few weeks ago and it is fabulous!! Thanks for the recipe and the recommendation!
I am wondering if my magic raspberry jam recipe would work the same with Tayberries? I think it might!
equal parts crushed fruit to sugar
bring to rolling boil for 4 minutes – then remove from stove
using an electric mixer… beat the jam for 4 minutes being careful not to splash yourself with the hot mixture. (trust me, it hurts) This breaks the seed pockets and releases the natural pectin
at this point I return it to the stove for a few minutes to bring it back up to temperature
pour into piping hot, sterilized jars (I use my dishwasher and pull out 1 jar at a time to fill)
pop on sterilized lid and ring… let them cool. you will hear a lovely ding, ding, ding as each jar seals. If you have a goof up jar… simply keep it in the fridge and use it first.
Hi Sharon, thanks for sharing your recipe! I’m definitely going to try your method this year. I’ll let you know how it works out.
Heidi
Thank you for your easy-to-follow, step-by-step guide! My 10yo daughter and I picked local raspberries and tayberries yesterday, then followed your recipe and method in making our jams this morning. This was our first time making jam and they turned out perfect!
Interesting info.,thank you…I pick them each year here in Vancouver, B.C. Canada
at one of the few fruit farms that grow them…you are right, they make incredible
jam…and tayberry jelly…cooked, crushed, dripped through cheesecloth –
add packet of the ‘stuff’ that supposedly makes sugarless jellies and jams,
and store in freezer for few months…tastes fantastic, especially in a toasted
cheese sandwich! or with cold meat etc. – the colour of the jelly is gorgeous too!
My folks and I want to thank you for your lovely tayberry jam recipe. Mum and Dad sold me the farm in Virginia in 2010 and moved to Florida. They missed their beloved tayberries they planted many years ago. I found your recipe on line and decided to give it a go. I used organic sugar, being as I try to farm as organically as possible. The jam was a hit! And now we can enjoy those tayberries year round. Thank you!
This jam is literally the best I’ve ever tasted! Made a small batch yesterday with Tayberries from my neighbor in Oregon. Try this one out, you won’t regret the effort! Thank you for putting the recipe out there for all of us non-chefs to try:)
Hi Julie, I’m so glad you love this jam the way I do! Thank you :)
screw on the kids – please change “kids” to “lids”
ooops! Thanks for catching that!
Thanks for the recipe and background history to the tayberry. I just made your jam with my allotment harvest. Delicious and done in 45 minutes!
Hullo Heidi, I live in England and we are having the most wonderful Spring since records began. I have grown tayberries for many years, but have never made jam! The berries are just ripening and I can’t wait to get cracking, the jam sounds so delicious. Our son is getting married next April and I would love to fill small jars to give as wedding favours but will the jam keep that long or should I freeze some berries and make it in a few months’ time? Any advice you can give me would be appreciated.
Love to all our American and Canadian sisters (and brothers)
Gwenda
Hi Gwenda, if you process the jars of jam in a boiling water bath canner, the jars will last until next April, and longer. Homemade jam lasts about 2 years after it is processed. However, it might be a good idea to freeze some berries and make the jam closer to the time for two reasons 1) you don’t know how long the guests will wait to open the jam, and 2) newer jam with have a fresher and brighter flavour and colour.
Love to everyone in the UK!
Heidi
I’ve tried this recipe a few times (once I modified and also added blackberries and blueberries) and today with just tayberries. The first time I couldn’t get to the stage with the jam wrinkling in the top in the test step so I added some pectin. Today I still couldn’t get it to do that so I just forget ahead and I’ll see later if it set up. I’m a jam novice – do you have any tips? Thanks!
Hi McKenna,
It is sometimes very difficult too see the wrinkles on the top. Another great way to test is to use a candy thermometer or instant reading thermometer. The pectin in fruit jam sets at 220 F (105 C). If you don’t have a thermometer, looking for masses of bubbles that build on each other over the top of the jam, or feeling that the jam is *just* starting to stick to the bottom, are both great ways to tell that the jam is ready. I never use pectin. Occasionally, my jam doesn’t set, but I don’t mind a runnier texture. I hope this helps!
Can the jam be frozen? Thank you!
Hi Wendi, I have never tried freezing it. I believe it will affect the texture. It will keep in the fridge for several weeks. if you process it in a cnner, it will be shelf stable for at least 18 months.